In the digital age, protecting the computer against potential system failures is a crucial task. Whether it’s due to software glitches, hardware malfunctions, or malware attacks, having a reliable recovery disk can save you from significant data loss and prolonged downtime. One of the most effective tools for this purpose is Hiren’s BootCD. In this guide, we’ll walk you through the process of creating a Windows 11 recovery disk using Hiren’s BootCD PE.
Why Choosing Hiren’s BootCD PE

Hiren’s BootCD PE is a popular and comprehensive toolkit designed for system recovery, troubleshooting, and maintenance. Here are some of its standout features:
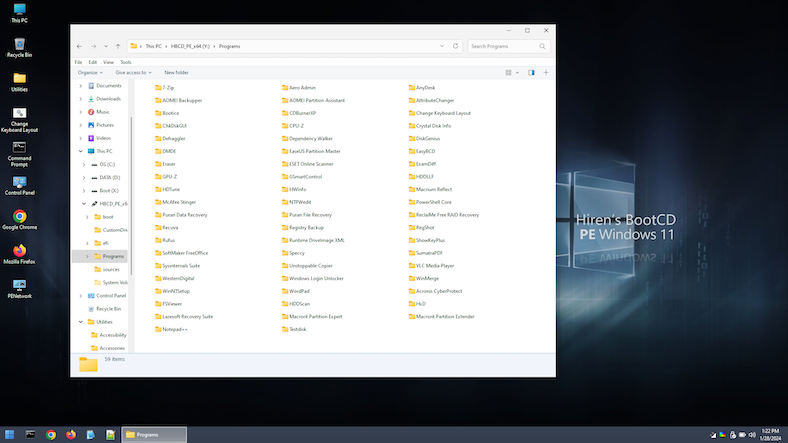
1. Comprehensive Recovery Tools: Hiren’s BootCD comes packed with a wide array of utilities (more than 100 free tools) that cater to various recovery needs. Whether you need to recover lost files, repair corrupted partitions, or fix boot issues, Hiren’s provides the necessary tools to get your system back on track.
2. User-Friendly Interface: Despite its powerful capabilities, Hiren’s BootCD offers an intuitive and easy-to-navigate interface. This makes it accessible not only to IT professionals but also to everyday users who may not have extensive technical expertise.
3. Support for Multiple Operating Systems: While primarily designed for Windows systems, Hiren’s BootCD also includes tools that support other operating systems. This makes it a versatile choice for users who work across different platforms.
How to Create Windows 11 Recovery Disk from USB with UUByte ISO Editor
Creating a Windows 11 recovery disk using Hiren’s BootCD and UUByte ISO Editor is a straightforward process. Follow the steps below to set up your recovery USB drive:
Step 1: Download Hiren’s Boot CD ISO image from the following link:
https://www.hirensbootcd.org/files/HBCD_PE_x64.iso
Step 2: Go to the UUByte ISO Editor page to download the software. Run the installer and follow the on-screen instructions to complete the installation process.
Step 3: Plug your USB drive into an available USB port on your computer and open UUByte ISO Editor app.

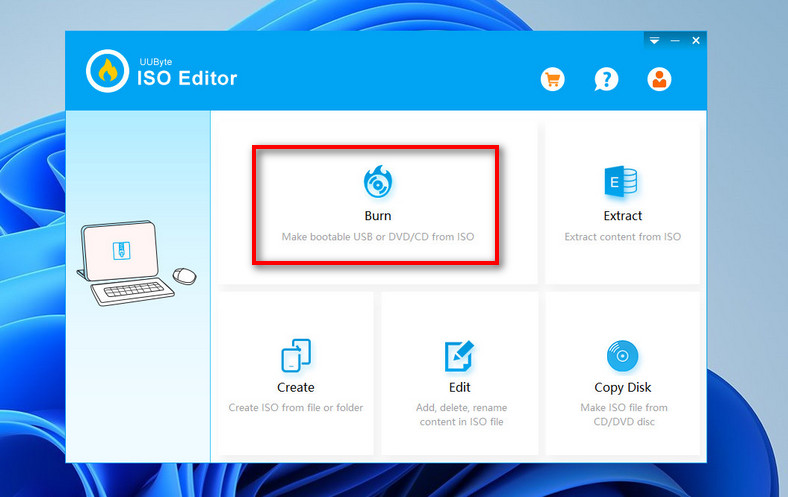
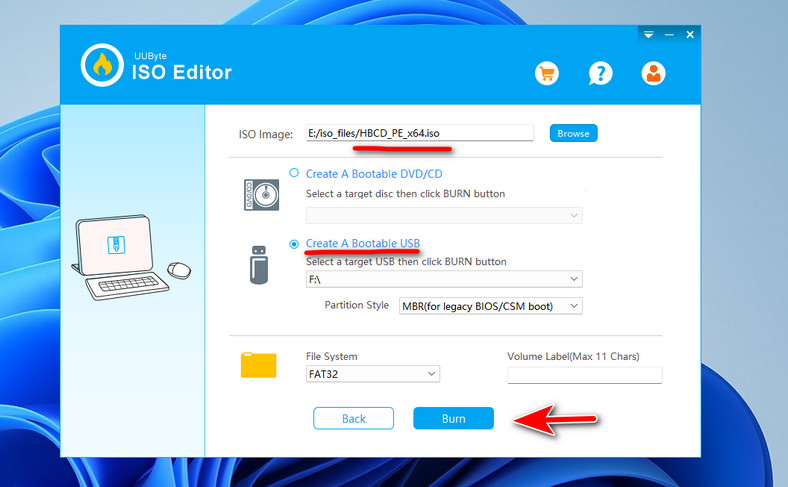
Step 4: On the main interface, choose the option to burn an ISO file to a USB drive. Click on the ‘Browse’ button and navigate to the location where you saved the Hiren’s BootCD ISO file. Select the file.

Step 5: Click on the ‘Burn’ button to begin the process. UUByte ISO Editor will format the USB drive and transfer the Hiren’s BootCD files to it. The process may take several minutes. Once completed, you’ll receive a confirmation message.
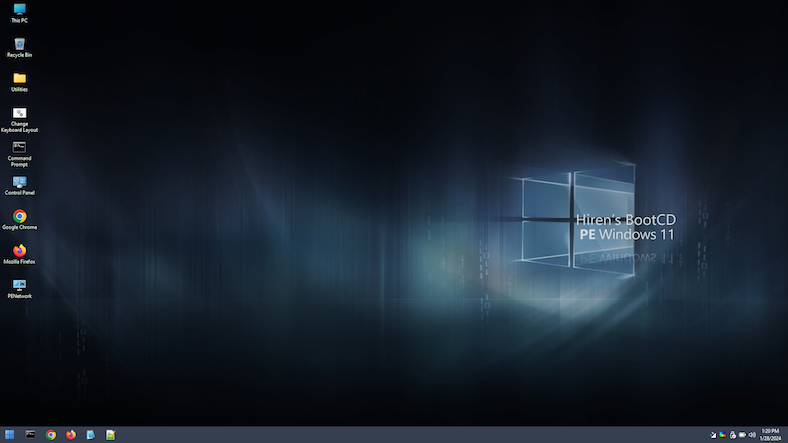
Step 6: Set the computer booting from the recovery USB, you’ll be presented with the Hiren’s BootCD menu. From here, you can select various tools and utilities to diagnose and repair Windows 11 system.

Summary
Creating a Windows 11 recovery disk using Hiren’s BootCD and UUByte ISO Editor is a valuable step in safeguarding your system against unforeseen issues. With its extensive range of tools and user-friendly interface, Hiren’s BootCD provides a reliable solution for system recovery and maintenance. By following the steps outlined in this guide, you can effortlessly set up a bootable USB drive that ensures you’re prepared to handle any system emergencies that may arise. Don’t wait for a crisis to occur—take proactive measures today to protect your data and maintain the health of your computer.

