Creating a bootable USB drive for Linux Mint is a straightforward process that allows you to install or try out this popular operating system on your PC or Mac. Whether you’re looking to replace your current OS, set up a dual-boot system, or simply test Linux Mint, a bootable USB is a convenient and portable solution. This guide will walk you through the simple steps to create a Linux Mint bootable USB drive using tools available for both Windows and macOS.
In this guide, we’ll walk you through the process of creating an Linux Mint bootable USB on both Windows and Mac systems using the UUByte DMG Editor, a reliable and user-friendly tool.
Why Use UUByte DMG Editor?
Choosing the right tool to create a bootable USB can make the process seamless and hassle-free. UUByte DMG Editor stands out for several reasons:
1. Cross-Platform Compatibility: Whether you’re using a Windows PC or a Mac, UUByte DMG Editor supports both platforms. This brings a smooth experience regardless of the operating system.
2. User-Friendly Interface: The software is designed with simplicity in mind. Even if you’re not tech-savvy, the intuitive interface guides you through each step without confusion.
3. Fast and Reliable: UUByte DMG Editor efficiently handles large files and complex operations, reducing the time required to create a bootable USB and minimizing the risk of errors.
4. Support All Linux ISO: Including Linux Mint, Debian, Fedora, Centos and other Linux distributions.
How to Create an Linux Mint Bootable USB Using UUByte DMG Editor
Follow these step-by-step instructions to create your Linux Mint bootable USB drive using UUByte DMG Editor on either Windows or Mac.
Step 1: Click the below link to download the Windows version of UUByte DMG Editor. Run the installer and follow the on-screen instructions to complete the installation.


Step 2: Go to the Linux Mint official website (https://linuxmint.com/download.php) and download the latest ISO file.
Step 3: Plug in a USB drive and open UUByte DMG Editor from your Start menu or desktop shortcut.
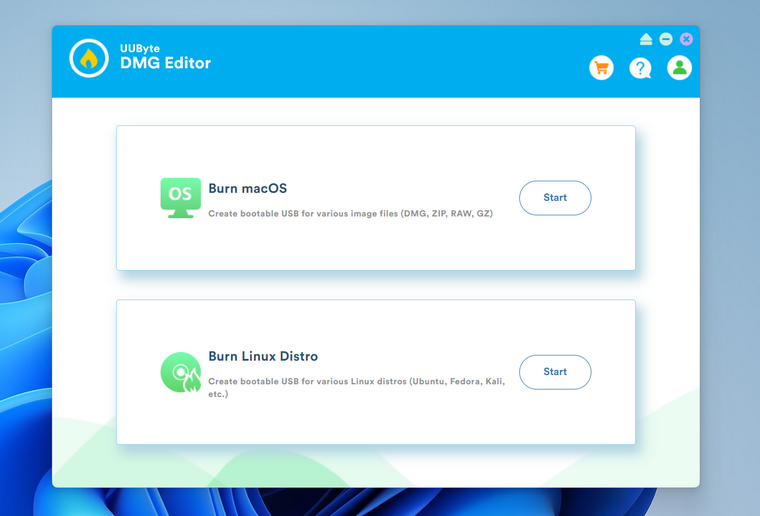
Step 4: In the UUByte DMG Editor interface, click on the "Burn Linux Distro" option. Browse and select the downloaded Linux Mint ISO file. After that, choose the correct USB drive from the list.
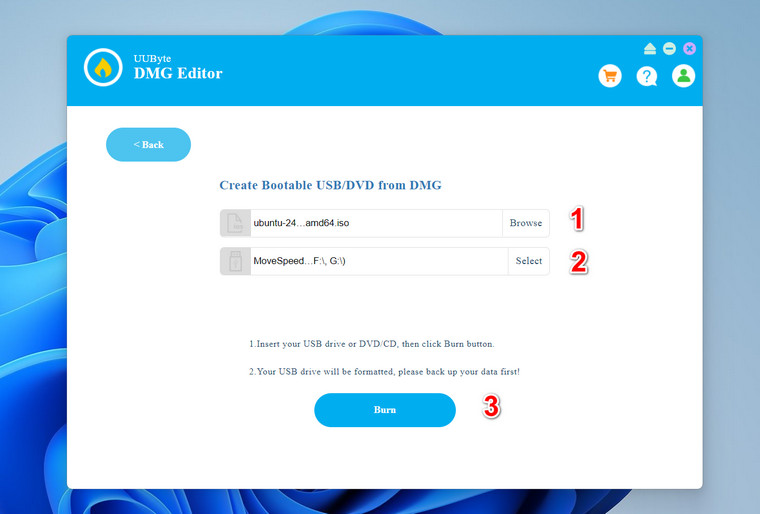
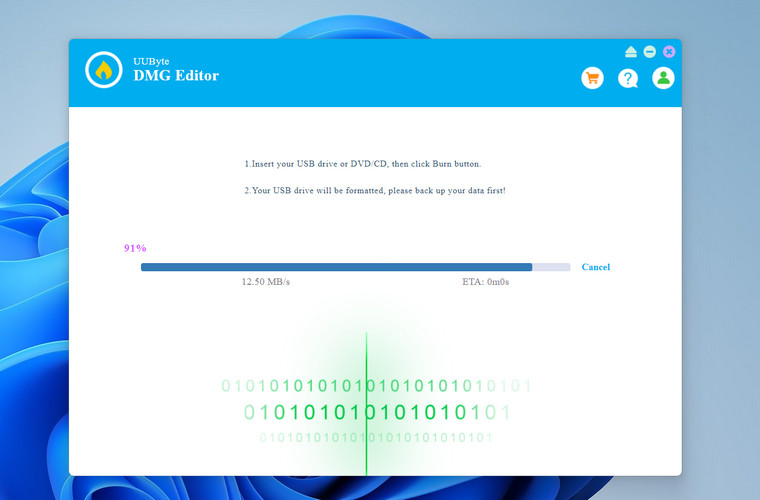
Step 5: Click the "Burn" button to begin the process. Wait for the software to complete writing the ISO to the USB drive. This may take several minutes.
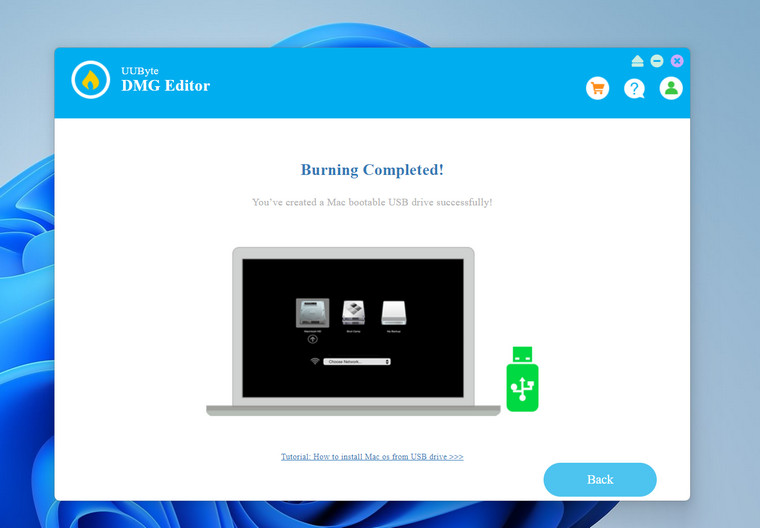
Step 6: Once the process is finished, safely eject the USB drive from your computer. Your Linux Mint bootable USB is now ready to use.
Booting the Computer from the USB and Installing Linux Mint
With your bootable USB ready, the next step is to boot your computer from the USB drive and install Linux Mint. Plug the bootable USB drive into the computer where you want to install Linux Mint.
Restart the computer. As it starts up, you’ll need to access the boot menu. This usually involves pressing a specific key (such as F12, F10, Esc, or Del) immediately after powering on. Refer to your computer’s manual for the exact key.
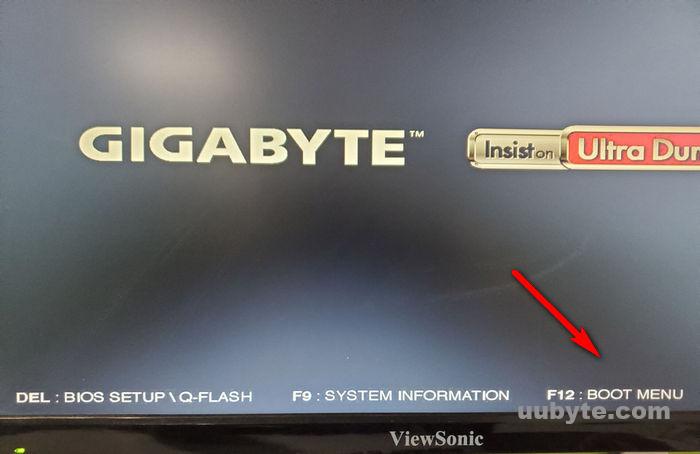
In the boot menu, select the USB drive as the primary boot device. This will allow your computer to boot from the USB instead of the internal hard drive.
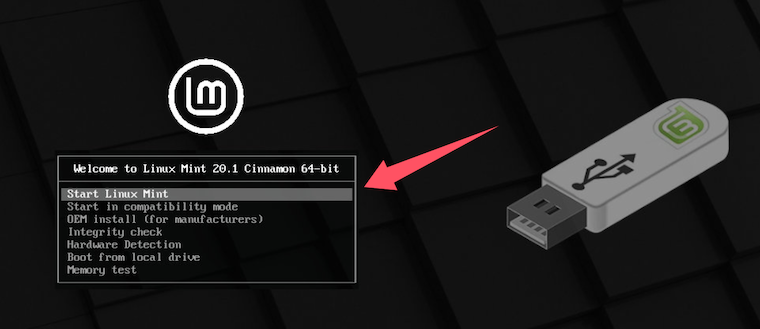
Once booted from the USB, you’ll see the the welcome screen. Select your language and follow the on-screen instructions.
Conclusion
Creating a Linux Mint bootable USB drive is an easy and efficient way to explore or install this user-friendly operating system. With just a few steps and the right tools, you can prepare a USB drive that works seamlessly on both PCs and Macs. Whether you’re a seasoned Linux user or a beginner, this method provides a quick and reliable way to get started with Linux Mint. Now that your bootable USB is ready, you can boot into Linux Mint, test its features, or proceed with installation on your preferred device. Enjoy the simplicity and power of Linux Mint!