Managing documents efficiently is crucial for both personal and professional needs. One common task that many users face is converting PDF files to PNG images. This process is particularly useful when you need to extract images from a PDF document, create thumbnails, or prepare content for web publishing. On macOS, users have access to powerful tools like Preview and LibreOffice, which offer free solutions for this conversion task.
Method 1: Convert PDF to PNG on Mac using PDFGeeker
If you often find yourself needing to convert PDF documents into image files on your Mac, using PDFGeeker can be a handy solution. This versatile software allows you to convert your PDFs into PNG images, which is ideal for preserving the visual elements and quality of the original document. Below, I’ll guide you through the process step by step, so you can quickly and efficiently convert your PDF files using PDFGeeker.
Step 1: Download and Install PDFGeeker
First, you need to have PDFGeeker installed on your Mac. Once downloaded, follow the installation instructions to get it set up on your computer.

Step 2: Import Your PDF
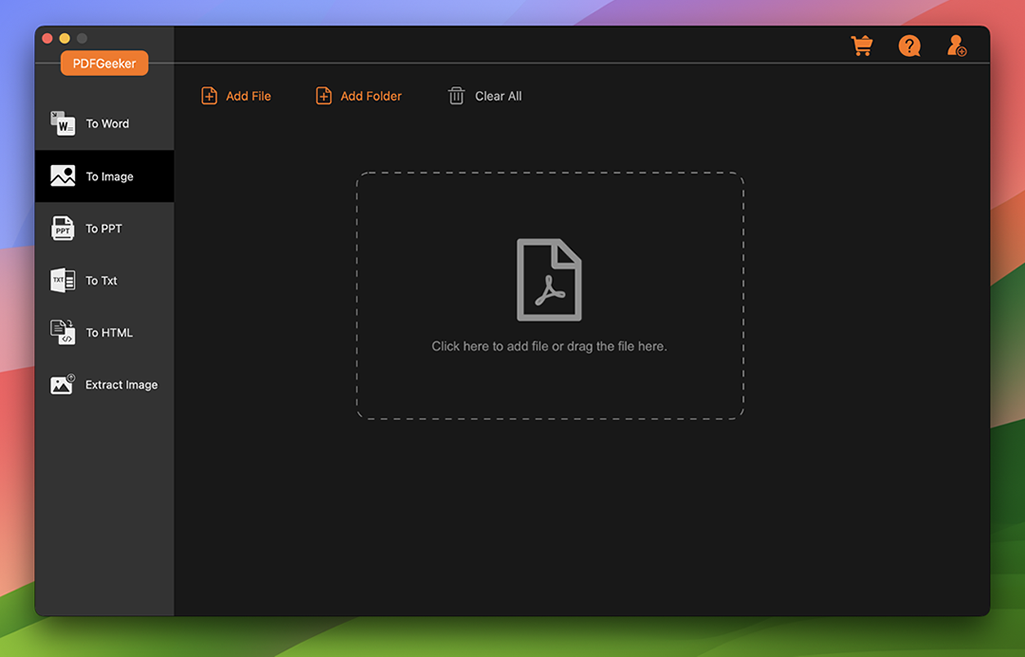
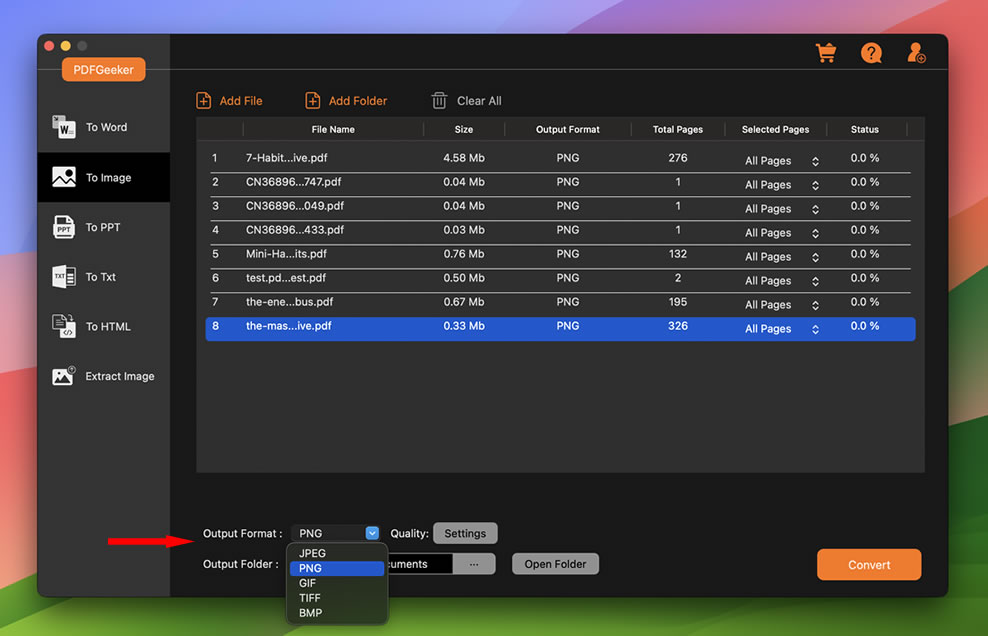
With PDFGeeker open, you can import your PDF file by clicking on the “Add Files” button located at the top left corner of the interface. Navigate to the location on your Mac where the PDF is stored, select the file, and click ‘Open’ to import it into PDFGeeker.
Step 4: Choose PNG as the Output Format
Once your PDF is uploaded, look for a section or a drop-down menu labeled ‘Output Format’. Here, select ‘PNG’ from the list of available formats. PNG is perfect for high-quality images and is widely used due to its support for transparent backgrounds.
Step 5: Customize the Output Settings
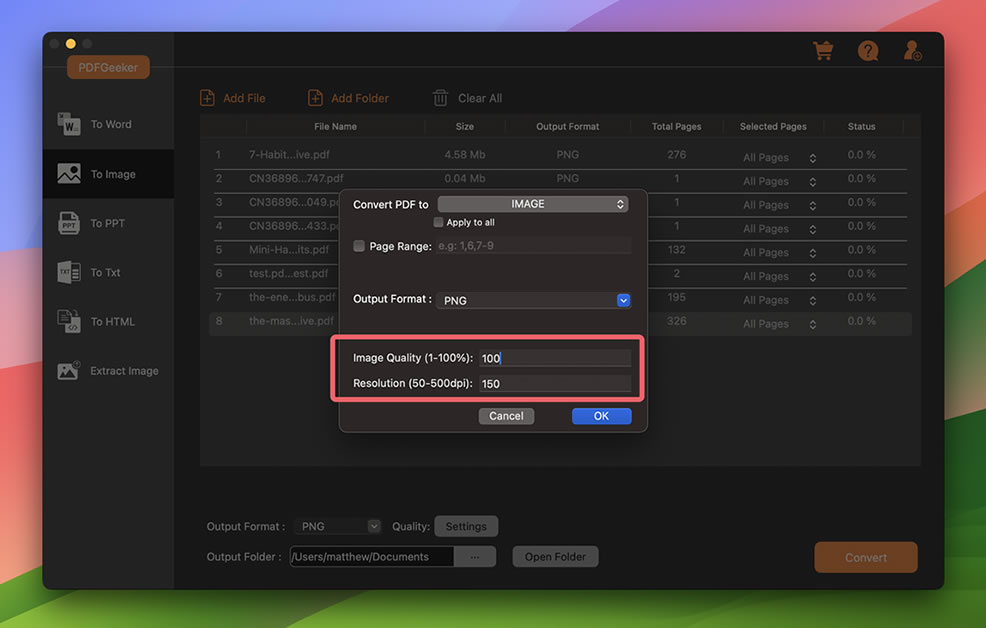
PDFGeeker allows you to customize how your PNG will look. You can adjust settings such as resolution and color depth according to your needs. This is particularly useful if you want to ensure the images serve your specific purpose, whether it be for web usage, presentations, or printing.
Step 6: Select Output Folder
Before converting the file, choose where you want the new PNG files to be saved. You can select an existing folder or create a new one where all converted files will automatically be stored. This helps in organizing your files better and ensures you don’t lose track of where your outputs are saved.
Step 7: Convert and Save
Once all settings are in place, click on the ‘Convert’ button. PDFGeeker will begin converting your PDF to PNG format. The time taken will depend on the size and number of pages in your PDF document. Once the conversion is complete, you’ll find the PNG files in the folder you specified.

Navigate to your output folder and open the PNG files to check the results. Make sure the conversion has maintained the quality and all elements of the PDF are intact and clearly visible.
Using PDFGeeker to convert PDF files to PNG on a Mac is a simple and effective way to manage document conversions. The tool’s user-friendly interface and robust functionality make it a great choice for both professional and personal use. Whether you’re preparing a presentation, creating web content, or just organizing documents, converting your PDFs to PNG can be done swiftly and smoothly with PDFGeeker.
Method 2: LibreOffice
LibreOffice is a free and popular suite of office applications that includes word processing, spreadsheets, presentations, drawing, mathematics, and database management tools. It is widely recognized for its compatibility with Microsoft Office formats, making it a popular choice among users who require a free alternative to proprietary software. One of the lesser-known features of LibreOffice is its ability to convert PDF files into PNG images, offering a convenient solution for those needing to extract images or prepare content for web use .
Steps to Convert PDF to PNG Using LibreOffice on Mac:
Step 1: If you haven’t already installed LibreOffice on your Mac, download it from the official website and follow the installation instructions.
Step 2: LibreOffice Draw is the component within the LibreOffice suite that allows for graphic design and manipulation. To start, launch LibreOffice and select "Draw" from the application launcher.
Step 3: Within LibreOffice Draw, navigate to "File" > "Open" and locate the PDF file you wish to convert. Select the file and click "Open" to import it into LibreOffice Draw.
Step 4: With the PDF now visible in LibreOffice Draw, go to "File" > "Export As" > "Image". A dialog box will appear allowing you to choose the format for the exported image. Select "PNG" from the list of options.
Adjust Image Settings (Optional): Before exporting, you may want to adjust the image settings such as resolution, dimensions, or color depth to ensure the best quality for your needs. These adjustments can be made in the "Export As" dialog box under the "Options" tab.
Step 5: Choose a destination folder and filename for your PNG image, then click "Export" to finalize the conversion process. LibreOffice will process the PDF and save it as a PNG image in the specified location.
Conclusion
By leveraging the built-in capabilities of macOS applications such as Preview and LibreOffice, users can effortlessly convert PDF files to PNG images for free. These methods offer a simple yet effective way to handle document conversions, catering to a wide range of needs from image extraction to preparing content for online platforms. Whether you’re working on a project that requires visual documentation or simply looking to organize your digital assets more effectively, utilizing these tools can significantly streamline your processes. Remember, the ability to convert PDFs to PNGs is just one aspect of what these versatile applications can offer, underscoring the value of exploring and utilizing the full potential of software available on your device.