High Sierra is a still good choice for many old Intel Macs. If you need to reinstall macOS High Sierra from USB drive, you need to make a bootable installer first. Don't worry! We will share all the steps for creating macOS High Sierra bootable USB on a PC or Mac. Before getting started with actual steps, make sure the Mac meets the minimal system requirements of High Sierra:

Table of Contents:
Part 1: Download macOS High Sierra DMG File
To create a macOS High Sierra bootable USB, you should first download the installation image. It can be a system installation app (Install macOS High Sierra) from App Store or simply a dmg file. Unfortunately, the installation app for macOS High Sierra is not available when I was trying to download it from Mac App store. Hence, we have to download a High Sierra DMG file in advance.
Below is a list of valid sources that provide direct download of macOS High Sierra DMG file. Please check them out:
https://www.mediafire.com/folder/4wuy42ubh7i41x0
http://down.801000.xyz/macos/10.13.x/
https://archive.org/download/macOS.High.Sierra.10.13.6
Part 2: Create macOS High Sierra Bootable USB on Any PC or Mac
Once you have the dmg file, the next step is to burn High Sierra dmg to a USB drive. This process will help you make a bootable USB for installation. UUByte DMG Editor is a well-known bootable disk creator that works on any Windows PC and Mac, including the Apple Silicon Mac. We are going to use this incredible software for making macOS High Sierra bootable USB. Please stay tuned! The whole process is done on a Windows 10 PC.
Step 1: Connect a USB drive to Windows 10 PC and make sure the drive letter appears in Windows Explorer. Also, take a full backup of the entire USB.
Step 2: Download a copy of DMG Editor and follow the guidance to install this app on Windows 10. You will see the following screen once the installation is completed.


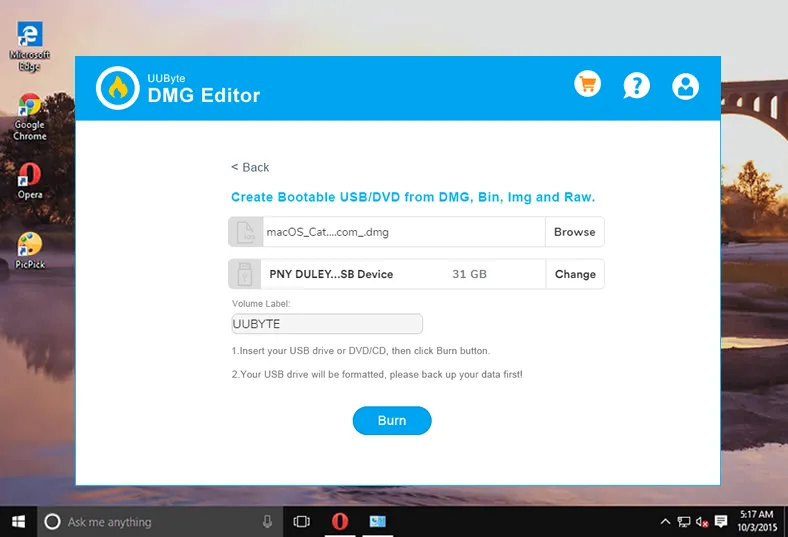
Step 3: Please click the Browse button located at the top to import macOS High Sierra dmg file into the program. After that, pick up the right USB drive from the drop-down list. We recommend ejecting other unnecessary USB devices from the PC during this procedure.

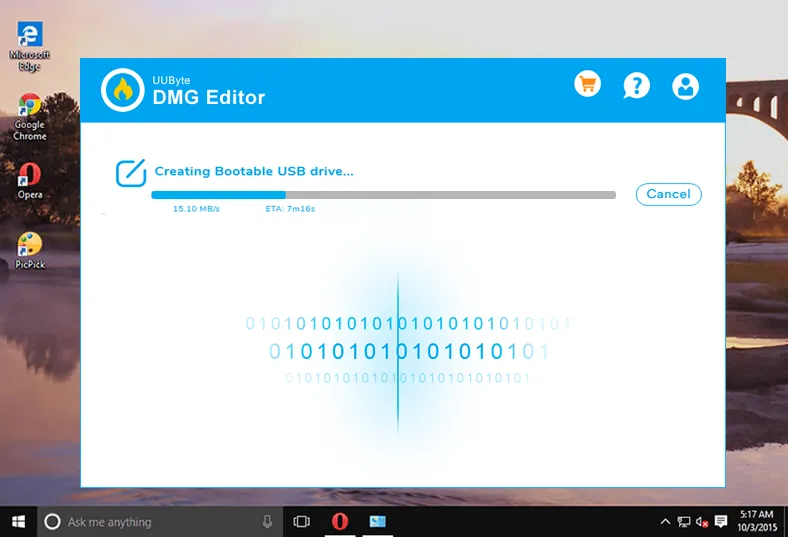
Step 4: From this stage, the preparation is completed. Now, click the blue Burn icon to start burning High Sierra dmg file to target USB device. Usually, it will be done in less than 15 minutes.

When the above steps are finished, you will get a Mac bootable USB that can be used for macOS High Sierra installation.


Part 3: Boot Mac from High Sierra Install Disk
How to check if the USB is recognized a valid macOS install disk by your Mac? From our researching, some of the USB drive is not bootable even there is no error during the creation process and it is easy to check that.
Please connect the Mac OS High Sierra bootable USB to the Mac you want to get High Sierra installed. Restart the Mac and hold the option key during startup. Wait about 20 seconds and you will see macOS Startup Manager utility showing up on the screen. If everything is correct, then you will see a booting drive called Install macOS High Sierra. Click on that drive name and you can start installing High Sierra on this Mac. If not, this means the burning process failed, you need to burn dmg file again with the same or another app.

The Bottom Line
Creating High Sierra Bootable USB on Mac is much simpler than on a PC because it is backed by Apple. In addition, there are more third-party apps available based on the createinstallmedia command. If you are using Windows PC, then UUByte DMG Editor is currently the best solution for making Mac bootable USB.


