You might come across a file that ends with .img extenstion. An image file is a disc image file created for OS installation, which is most widely used by single-boarded computer like Raspberry Pi. To make the mini computer working, you have to flash or burn .img file to the board. Looking for a way to burn an image file to a SD card? Well, you have come to the right place.
In reality, there are a lot of ways for writing an image to SD card and the process is so simple. All it takes is a few clicks. However, keep in mind that not all of tools out there are reliable as some are scams to take your money. With that in mind, we can help you out. In the section below, we are going to show you the steps on how to burn a disk image to SD card. Before we begin, make sure you now have a SD card by your side.
UUByte DMG Editor - Best Way to Burn IMG to SD Card
When it comes to img file burning or writing, UUByte DMG Editor is always a popular solution. This innovative software can burn multiple file types to SD card, such as .img, .iso, .dmg, .bin. Once the burning process is done, the SD card will be bootable for OS installation. Besides, it is built with a modern UI and the it is super easy to use.


Step 1: Install and Run Software
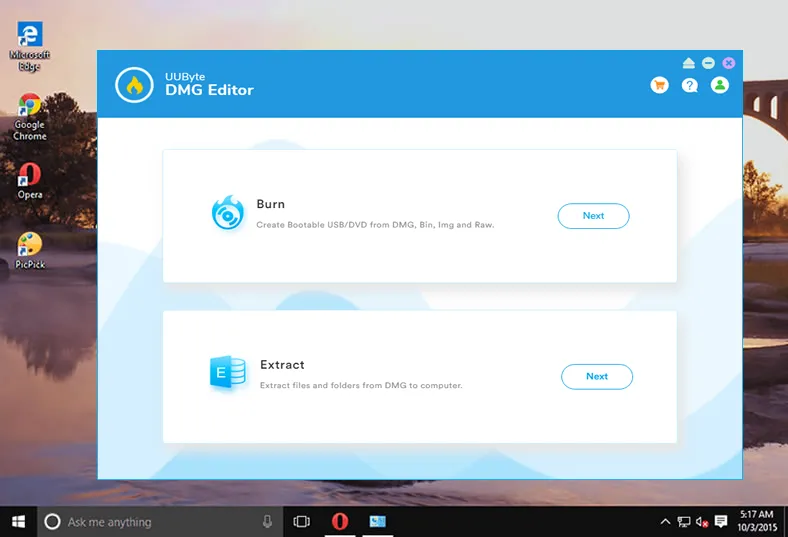
Please click the above download button to store the installation file on a computer. After that, install the software based on the screen prompt. When you open the software, it looks like this:

Step 2: Insert SD Card and Load .img File
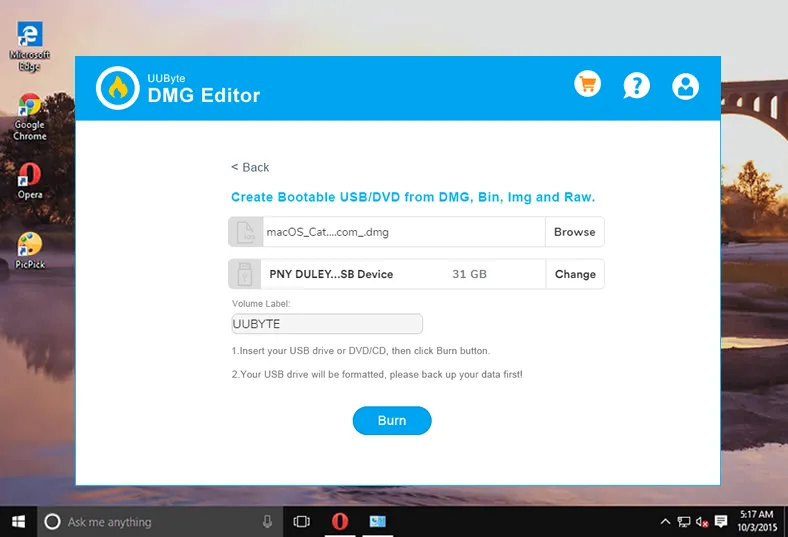
Plug the SD card into computer and click 'Burn' tab. You will be lead to a new window. From there, click 'Browse' button to import .img file into the program.

Step 3: Start Writing IMG File to SD Card
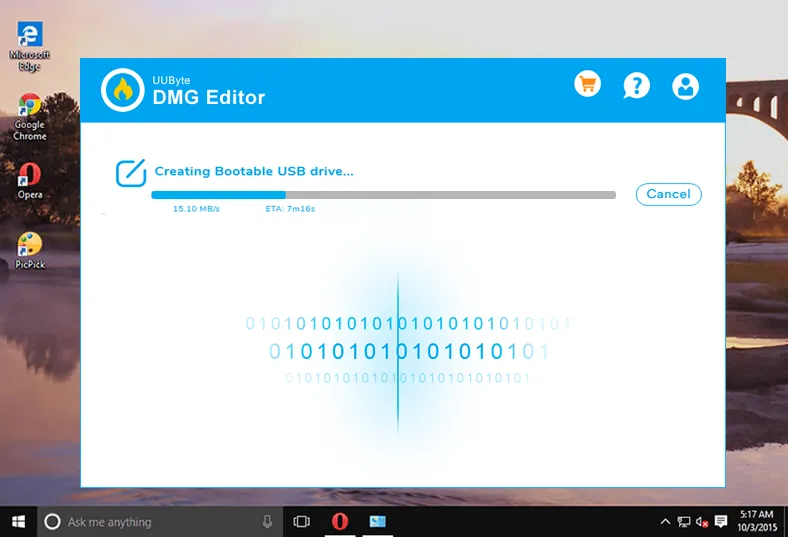
Click the Burn button at the bottom when the settings is completed. Now the program starts to write the imported .img file to target SD card. Please keep the SD card untouched during this process. Wait for about 10 minutes and you will see a successful message displayed on the screen.

Currently, UUByte DMG Editor is the most efficient software to burn .img file to SD card. You can see the steps are quite simple and this is a great way to install customized OS on single-board computers.


Etcher - Burn .img to SD Card in a Modern Way
If Win32 Disk Imager does not work, then give Etcher a try. This is a cool tool that allows you to write any disc image file to SD card. What sets it apart from Win32 Disk Imager lies in its beautiful and easy-to-use UI. Plus, it is faster and more stable than Win32 Disk Imager, and supports writing for multiple drives. Besides SD card, it can also burn img or ISO file to USB flash drive.

Step 1: You can download it from its official download page and then open it on your computer.
Step 2: Select the image file you wish to burn to your SD card. To do this, click Select image button and then locate an image file from your local drive.
Step 3: Click on the Flash button and wait until the process is complete. Etcher is way faster than Win32DiskImager as it takes around 5 minutes to burn your image file.
Win32 Disk Imager - Write .img File to SD Card For Free
Microsoft does not allow you to burn an image file a SD card natively, but there is a cool tool called Win32 Disk Imager that helps you make this possible. In reality, Win 32Disk Imager is not new out there as it has been one of the number one recommendations when it comes to burning image files to SD card.

Step 1: Download and install Win32DiskImager from here and then open it on your computer (make sure you have already inserted an SD card into your PC).
Step 2: From the main menu, select the SD card under the Device section (make sure you select the correct device).
Step 3: Click on the button under the Image file section and select the Disc Image file you wish to write to the SD card.
Step 4: Wait for the process to complete (this may take several minutes). Once done, eject your SD card from your computer and you nailed it.
The Bottom Line
Both Etcher and Win32 Disk Imager are great tools for burning an image file to SD card. Choosing between the two is a matter of personal preferences. However, Etcher has its upper hand over its rivals thanks to its polished UI and high level of performance stability.


